
Step 1: Powering on the VirtualBench
Now, touch the probe to the wire that's connected to the +6V port. You should see the red line jump up, like so:
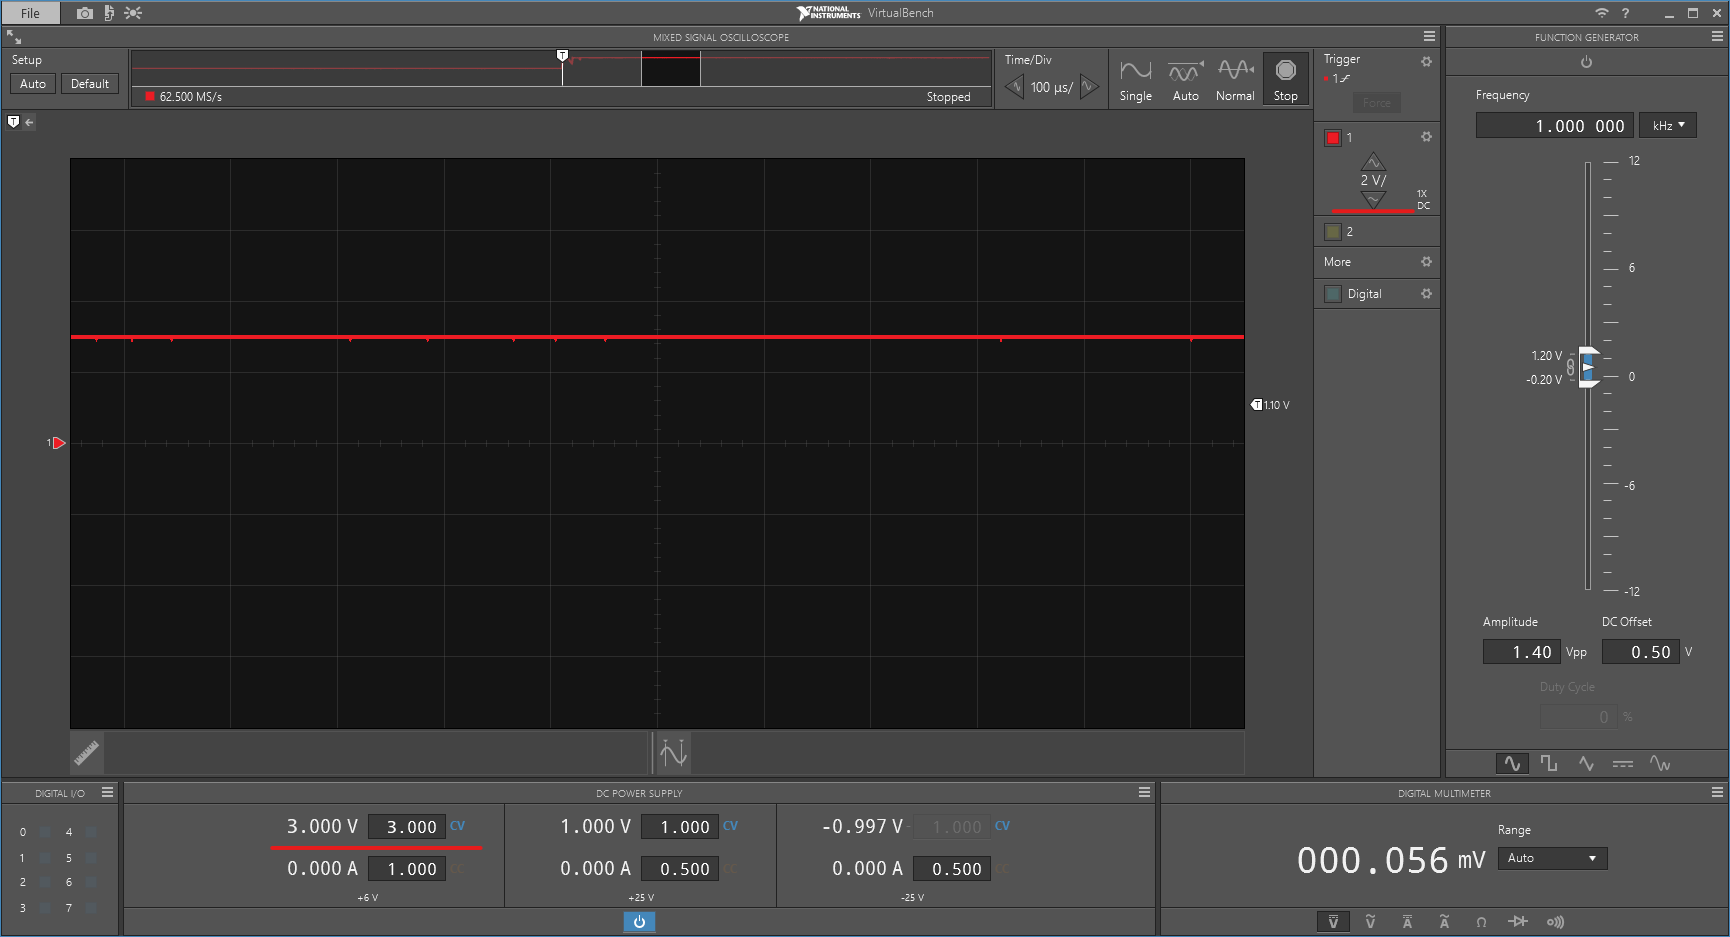
Looking at the red underlines, we can see that the scale in the top right is set to 2V per division and the voltage is set to 3V. The red line is 1.5 lines up from the middle line (shown by the little red arrow to the left), indicating that the probe is reading 3V. Using the arrows above and below the volts per division indicator, we can zoom in and out to better see small or large signals. During Sumobots, we won't need to zoom in and out much.
Throughout this workshop, feel free to use the probe to see what voltage the different parts of the circuits are at by simply touching it to exposed connectors.
Don't I Need To Connect The Oscilloscope Ground As Well?
The small wire with an alligator clip is the ground pin of the probe.
By default, it is tied to the ground of the power supply- so if you're powering your robot off the VirtualBench, there's no need to use it.
Later, when your robot is battery powered, you'll need to clip this to the negative terminal of the battery pack.